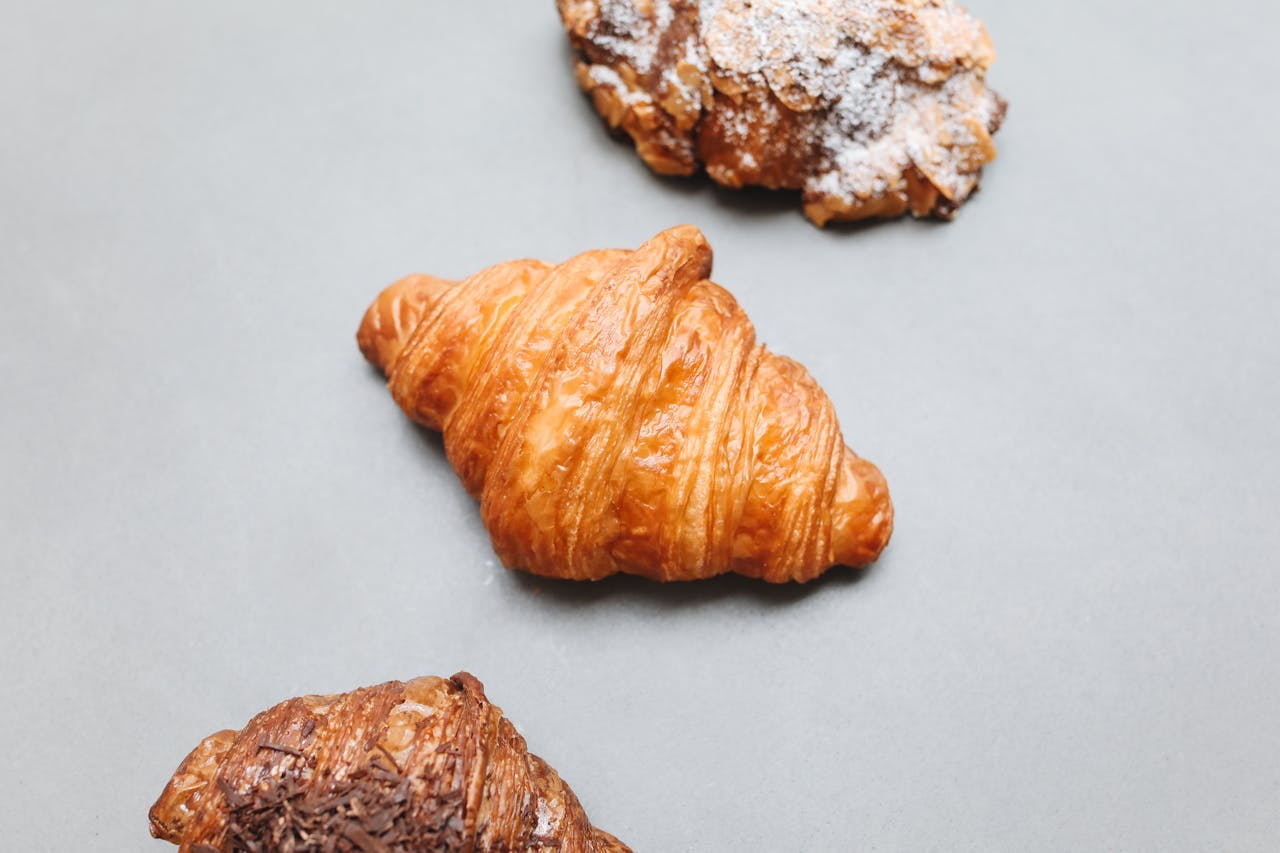
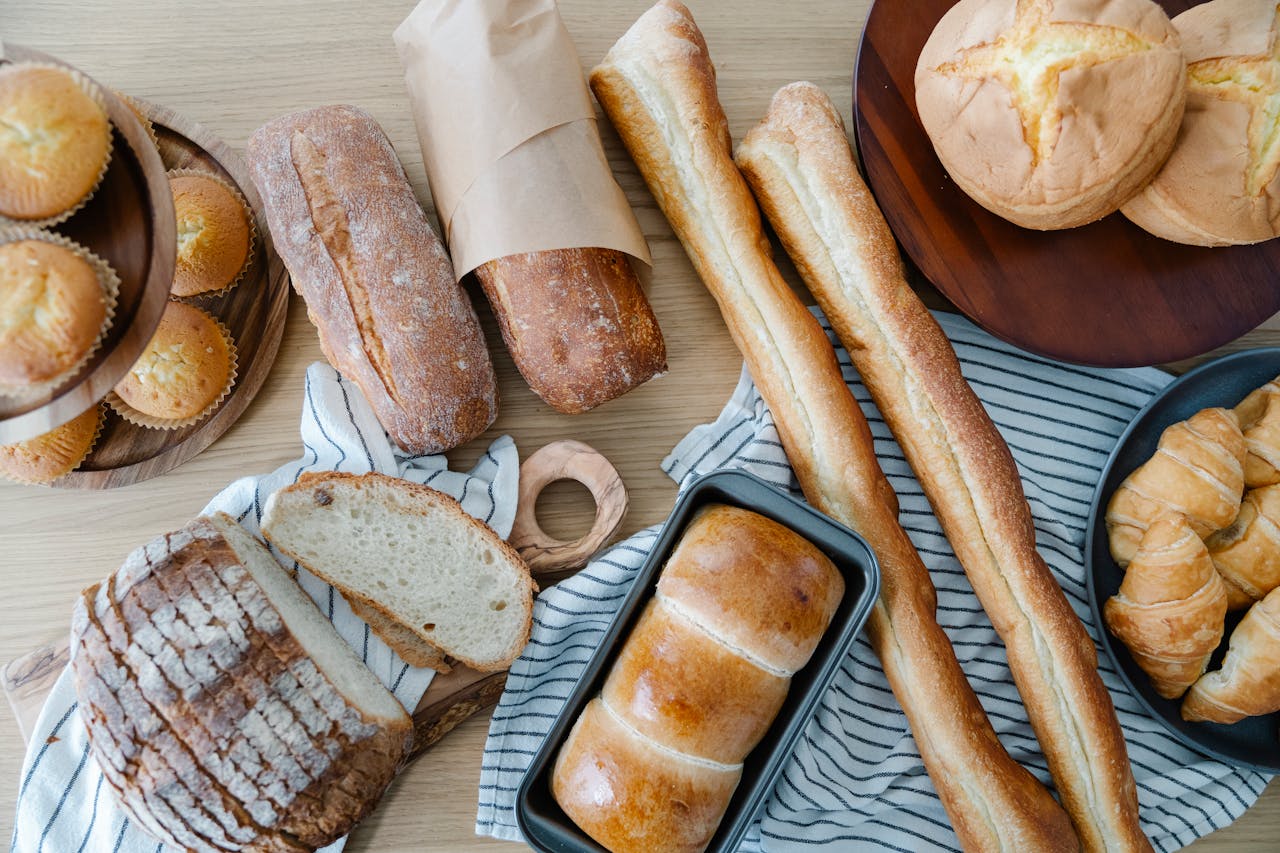
Baking can feel like a bit of a science experiment—one small misstep, and the whole thing can fall apart. But once you understand the key principles, you’ll be whipping up breads, cakes, and cookies with ease. Whether you’re a beginner or an experienced baker, these tips will help you achieve bakery-quality results from the comfort of your kitchen.
1. Ingredients Matter: Quality and Freshness
The quality of your ingredients plays a huge role in the final outcome of your bake. Here are the main ingredients you’ll need to focus on:
Flour: The Foundation of Your Bake
Flour is the backbone of almost every baked good, and choosing the right type is crucial.
- All-purpose flour is versatile and can be used for most cakes, cookies, and some breads.
- Bread flour, with its higher gluten content, is ideal for yeast-based recipes like bread and pizza dough.
- Cake flour has a low protein content, which gives cakes a tender, light crumb.
- Whole wheat flour adds flavor and nutrition but can make bakes denser, so it’s often mixed with all-purpose flour.
Tip: Always measure flour correctly. Fluff it with a spoon, then level it off. Too much flour can make your baked goods dense.
Yeast: The Lifeblood of Bread
If you’re baking bread, yeast is your friend. It’s what makes bread rise and gives it its airy texture. Always check the expiration date of yeast, and ensure you’re using the right kind for your recipe.
- Active dry yeast needs to be dissolved in water before use.
- Instant yeast can be mixed directly with the dry ingredients.
Tip: Yeast loves warmth, so ensure your water is lukewarm (100–110°F or 37-43°C) when activating it. Too hot, and it’ll kill the yeast; too cold, and it won’t activate.
Butter: For Fluff and Flavor
Butter adds moisture, flavor, and texture to both cakes and pastries. Room temperature butter is best for creaming with sugar to trap air, which helps your baked goods rise.
Tip: If you forget to take out the butter ahead of time, microwave it for a few seconds in short bursts or cut it into smaller cubes to speed up the softening process.
2. The Importance of Proper Mixing Techniques
Mixing is more than just combining ingredients. The way you mix your dough or batter can drastically affect texture and rise.
Creaming Butter and Sugar for Cakes
For cakes, creaming butter and sugar together is a key step. This process traps air in the mixture, which contributes to a light and airy cake.
Tip: Use an electric mixer and beat the butter and sugar for 3–5 minutes until it’s light and fluffy.
Kneading Dough for Bread
When baking bread, kneading develops gluten, which is essential for a good rise. Knead your dough until it’s smooth and elastic (about 8–10 minutes by hand).
Tip: If using a stand mixer, you can knead the dough on low speed with the dough hook for about 6–7 minutes. Avoid over-kneading, which can result in a dense loaf.
Don’t Overmix:
While creaming and kneading are important, overmixing can be detrimental to your bake. Overmixing cake batter or cookie dough will cause them to become dense and heavy.
Tip: Once the flour is added to your wet ingredients, mix just until combined.
3. Understanding Leavening Agents
Leavening agents—such as baking soda, baking powder, and yeast—are responsible for giving your baked goods their rise.
Baking Powder vs. Baking Soda
- Baking powder contains both an acid and a base, so it’s a one-step leavening agent that works best in recipes that don’t have an acidic ingredient (like buttermilk or vinegar).
- Baking soda requires an acidic ingredient to activate it, like lemon juice or yogurt.
Tip: Always use fresh leavening agents! Old or expired baking powder or baking soda won’t create the lift your recipes need.
Yeast for Bread
Yeast is the most common leavening agent in bread recipes. It produces carbon dioxide, which makes the dough rise and gives the bread its airy texture.
Tip: If your dough doesn’t rise as expected, it could be due to old yeast or not allowing it enough time to rise.
4. Prepping Your Oven and Equipment
Even the best dough or batter can fall flat if your oven and equipment aren’t properly prepped.
Preheat Your Oven
Always preheat your oven to the correct temperature. An oven that’s too cold will prevent your baked goods from rising properly, while an oven that’s too hot can cause them to burn on the outside while remaining raw inside.
Tip: Invest in an oven thermometer—some ovens can run hotter or cooler than the settings suggest.
Use the Right Bakeware
The type of pan you use can affect how your baked goods rise. For example, dark pans absorb more heat and may cause the outside to brown too quickly, while shiny pans reflect heat and can help ensure even baking.
Tip: Grease and flour your pans, or line them with parchment paper to ensure your cake or bread doesn’t stick.
Don’t Open the Oven Door Too Early
The temptation to peek is strong, but opening the oven door can cause cakes and breads to deflate. Wait until at least 2/3 of the way through the baking time to check on your goods.
Tip: If you absolutely must check, do so quickly, and close the door as fast as possible.
5. Cooling and Storing Your Bakes
Cooling your bakes properly is just as important as baking them. When cakes or bread come out of the oven, they’re still cooking from residual heat, so letting them cool is key.
Cooling Cakes and Bread
- Cakes should be left to cool in the pan for about 10–15 minutes before transferring them to a wire rack to cool completely.
- Bread should be transferred to a cooling rack as soon as it’s out of the oven to prevent the bottom from becoming soggy.
Tip: If you’re working with delicate cakes or pastries, let them cool completely before frosting or decorating to prevent the frosting from melting.
Storage
To keep your baked goods fresh:
- Store cakes and cookies in airtight containers.
- Bread can be wrapped tightly and stored at room temperature for a few days, or frozen for longer storage.


